First On Site Practice Shoot with ELB 400 HS

This was my first day ever on location with the new ELB 400 HS to go kit from Elinchrom back in mid-February in 2018. The kit comes with a single light head, battery pack, and reflector.  I was completely surprised by the size and easy mobility I had with the kit. I went out and purchased a camera hiking bag since I was riding a mountain bike to get to the locations.  I took only what I needed and what I physically was capable of carrying on my back.

Here's a shot with everything packed up inside my bag. I was really happy with the quality of the backpack (and price). I purchased the bag through Amazon, a link provided here. I really wanted something that could fit a camera, 2-3 lenses, a light stand, tripod, and my ELB 400 HS light kit while having the ability to be mobile on a bike or future hiking trips. I was even able to pack gels and a few extra things.


LIGHTING TUTORIAL-2443.jpg

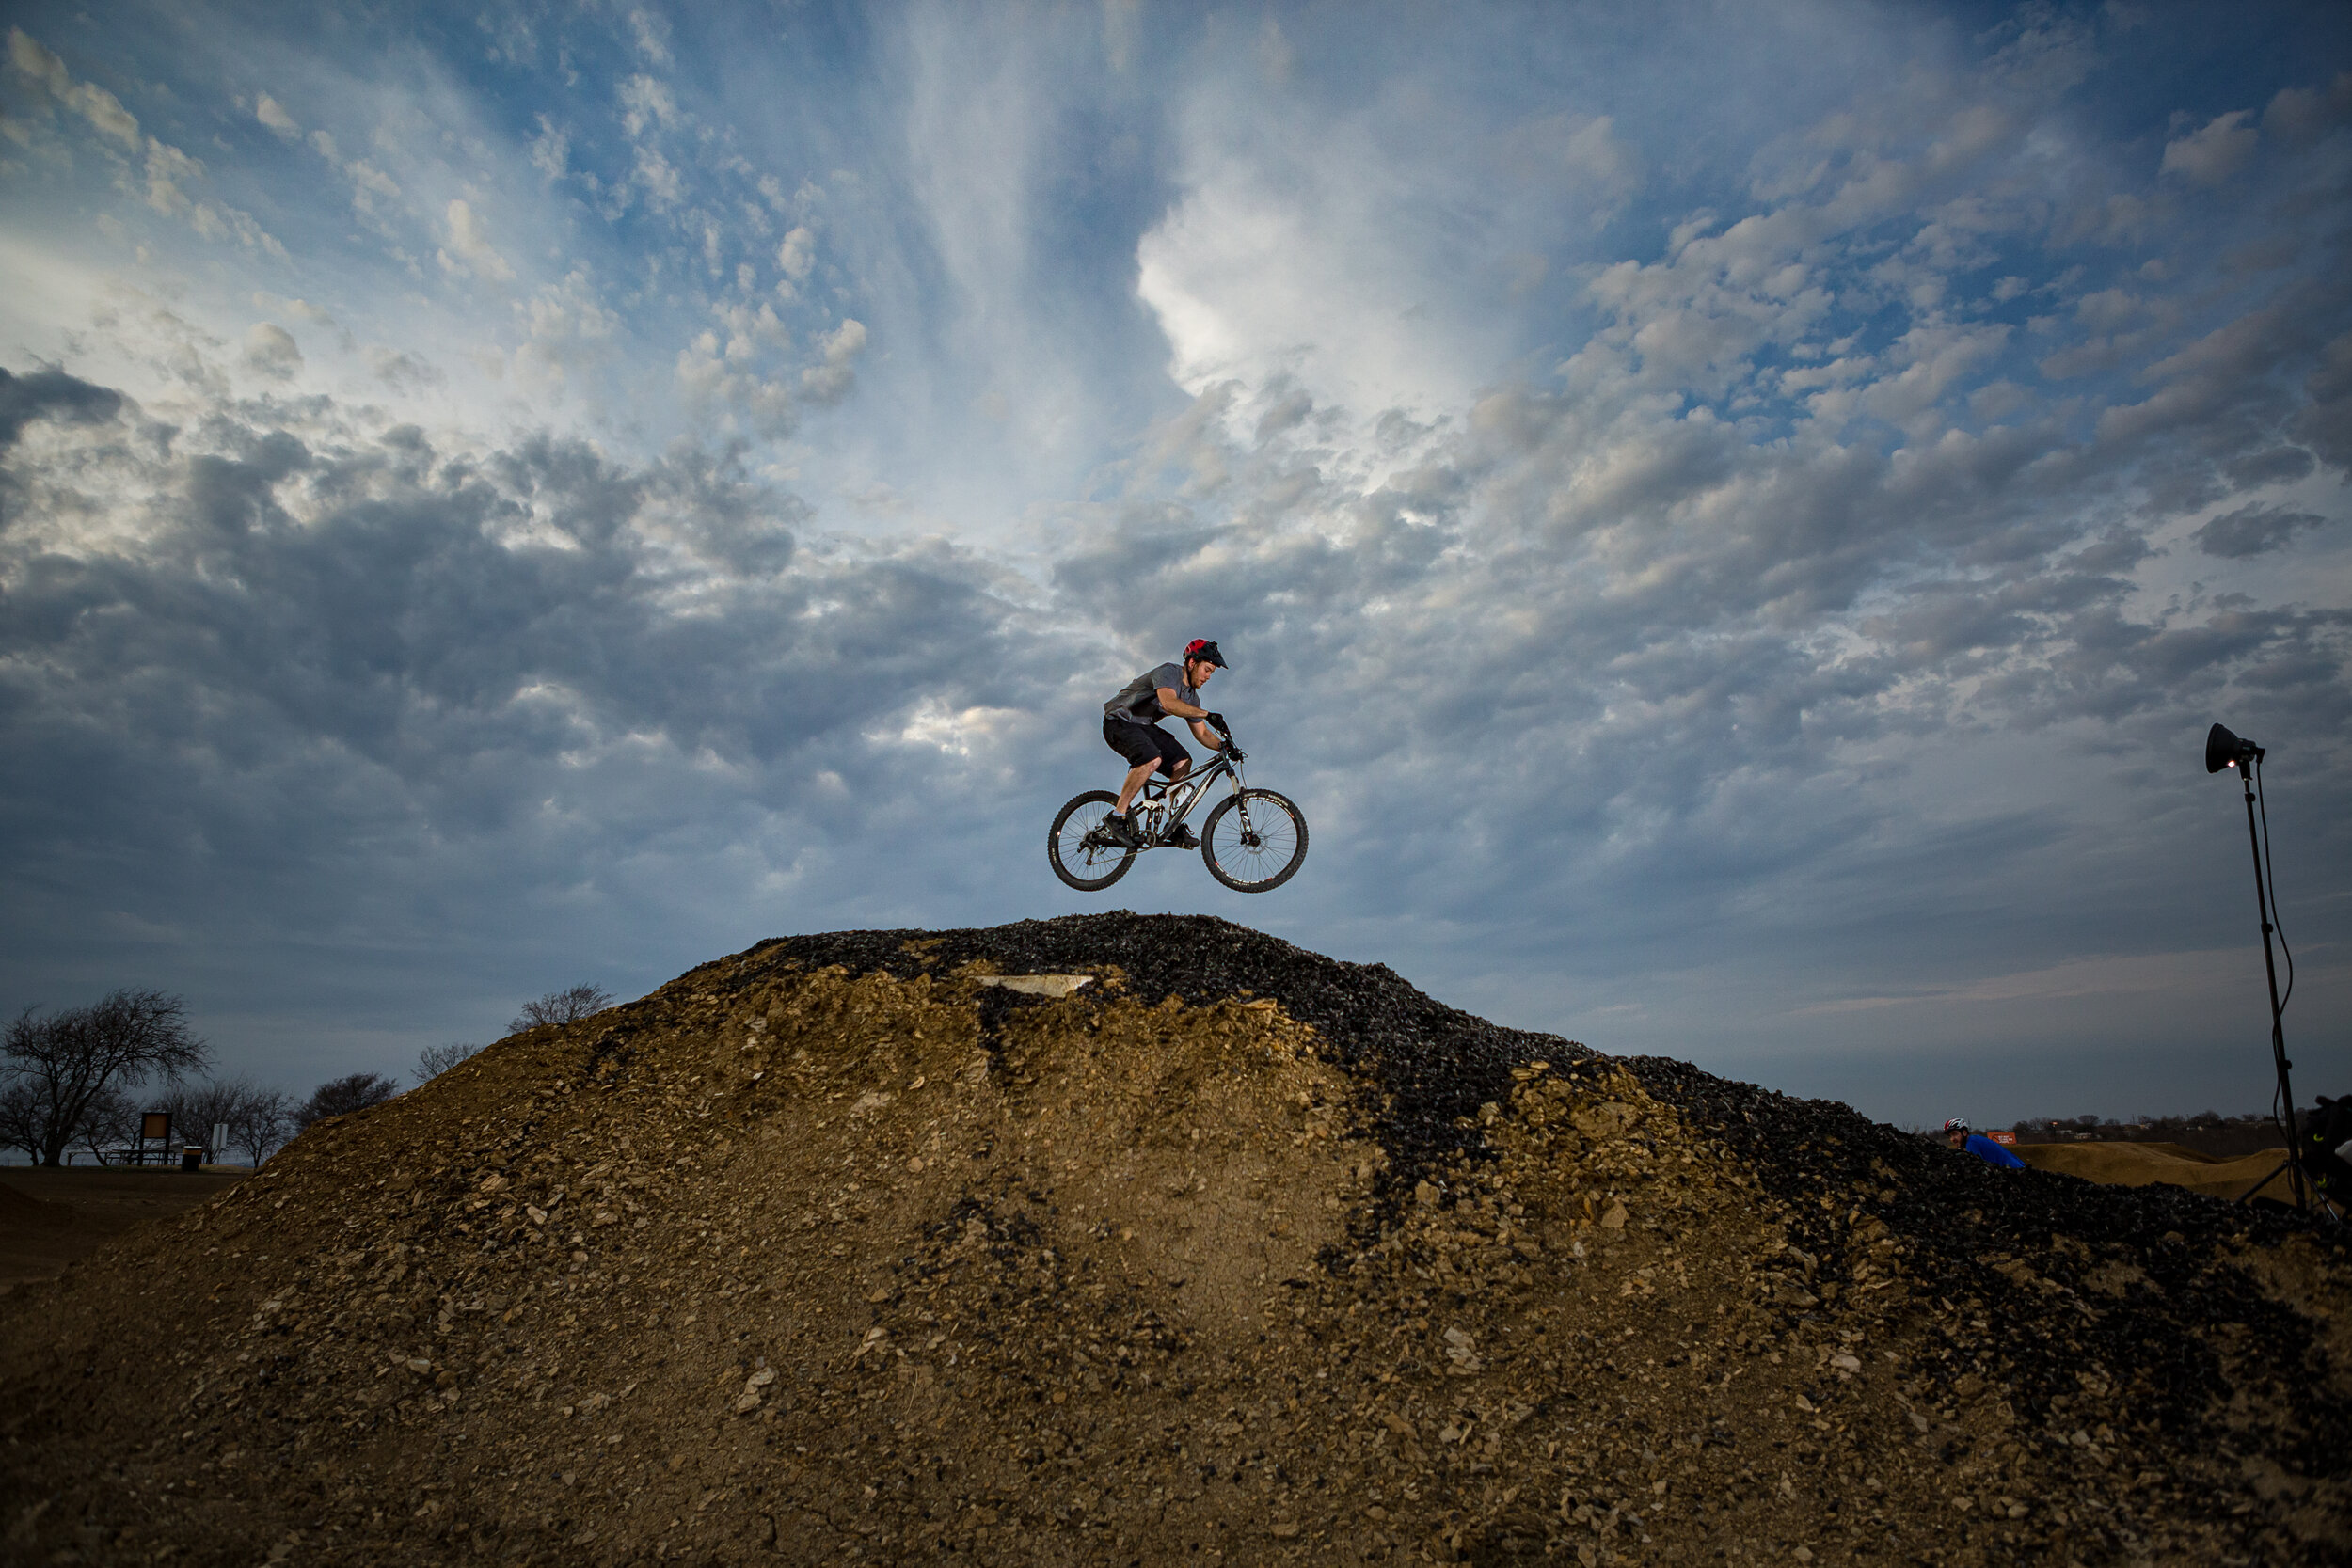
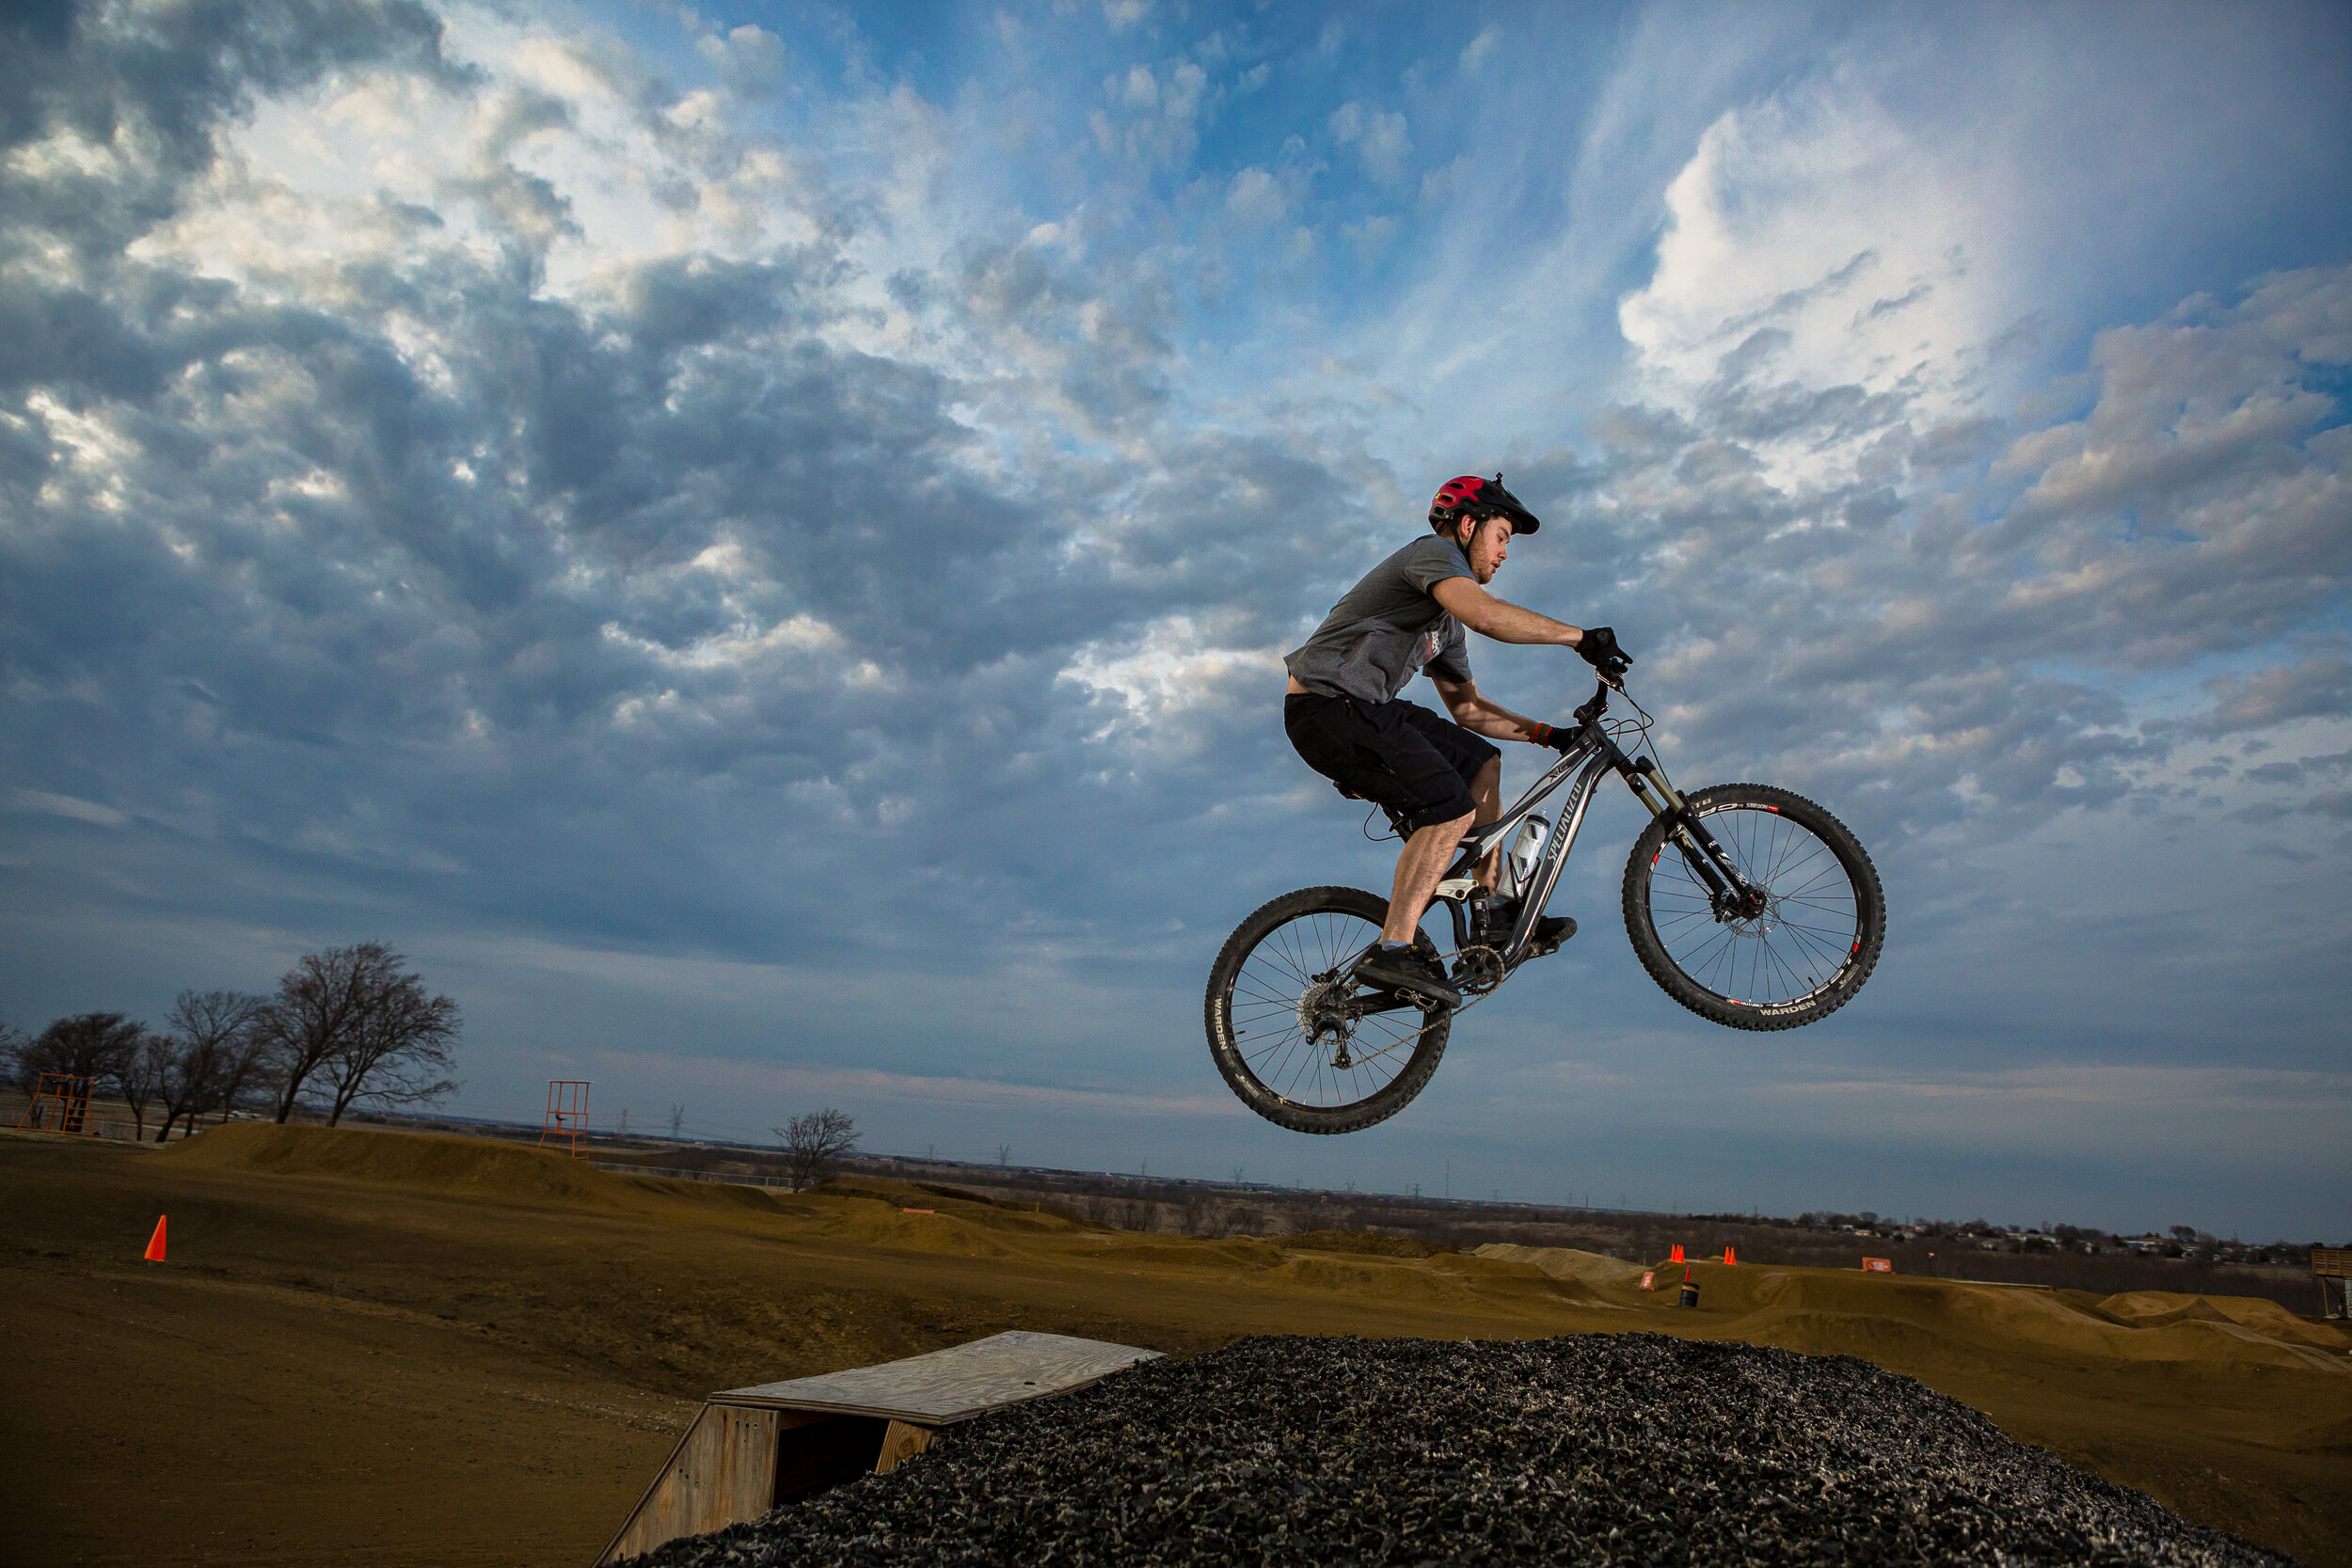
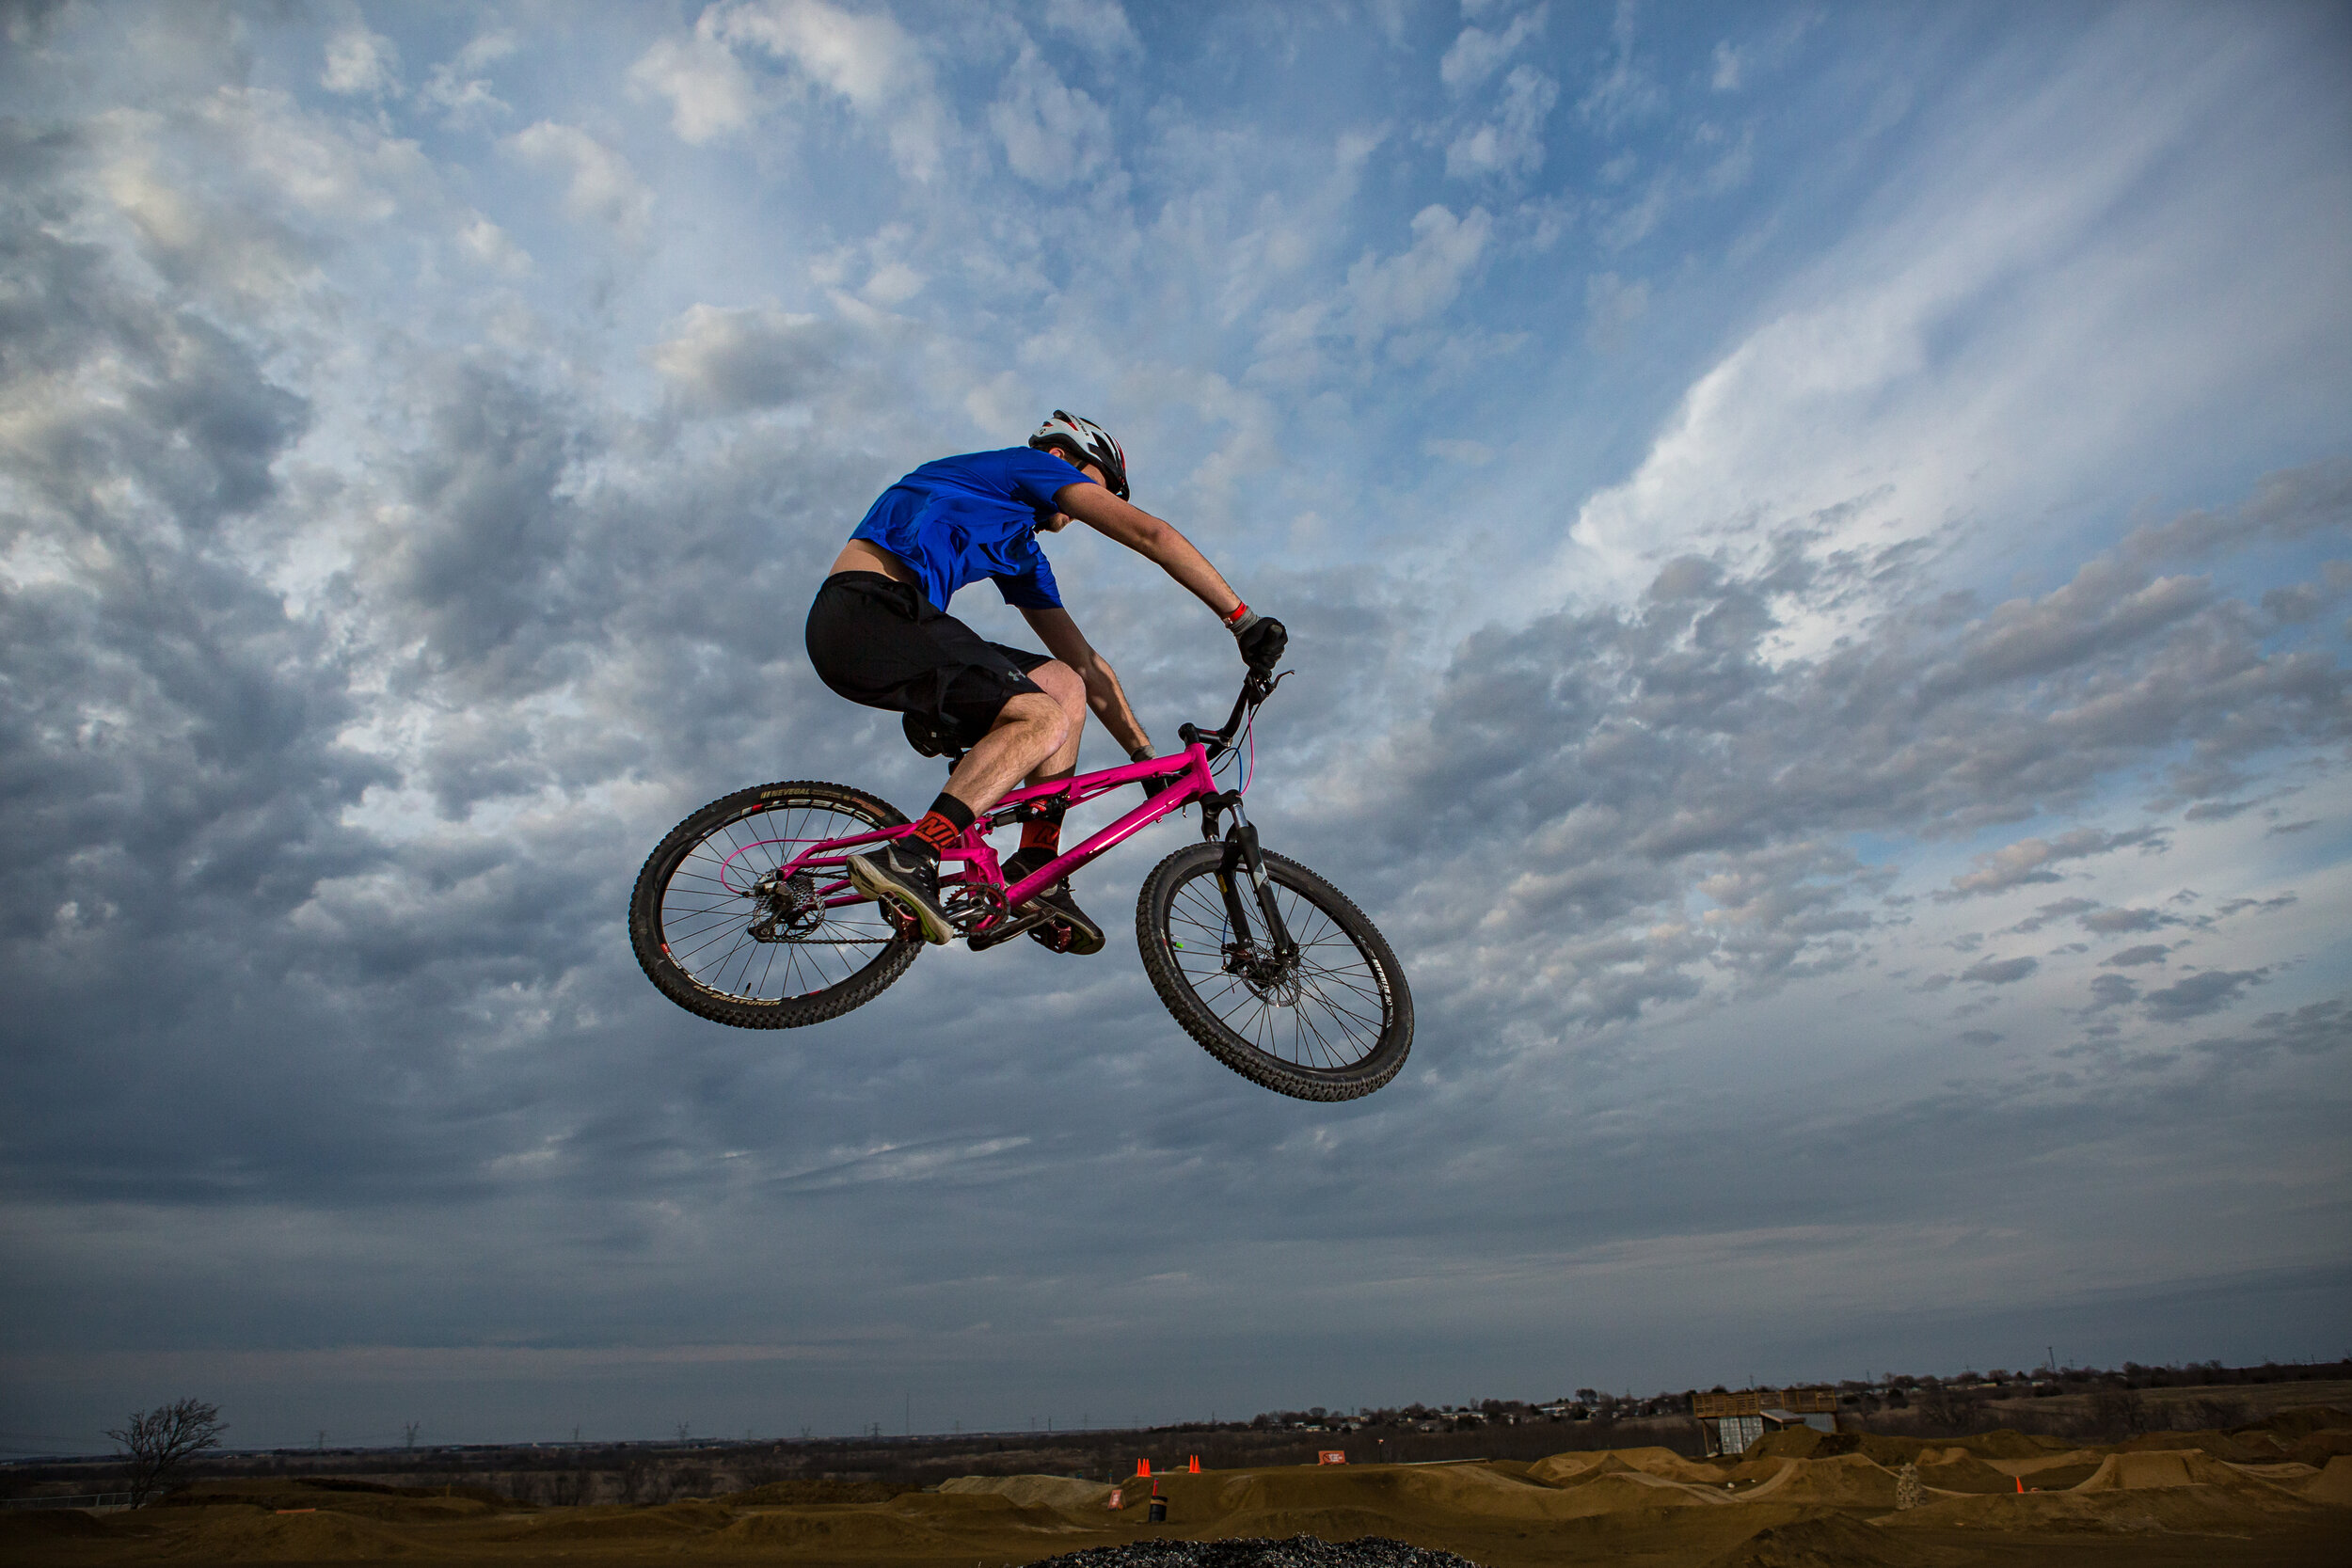
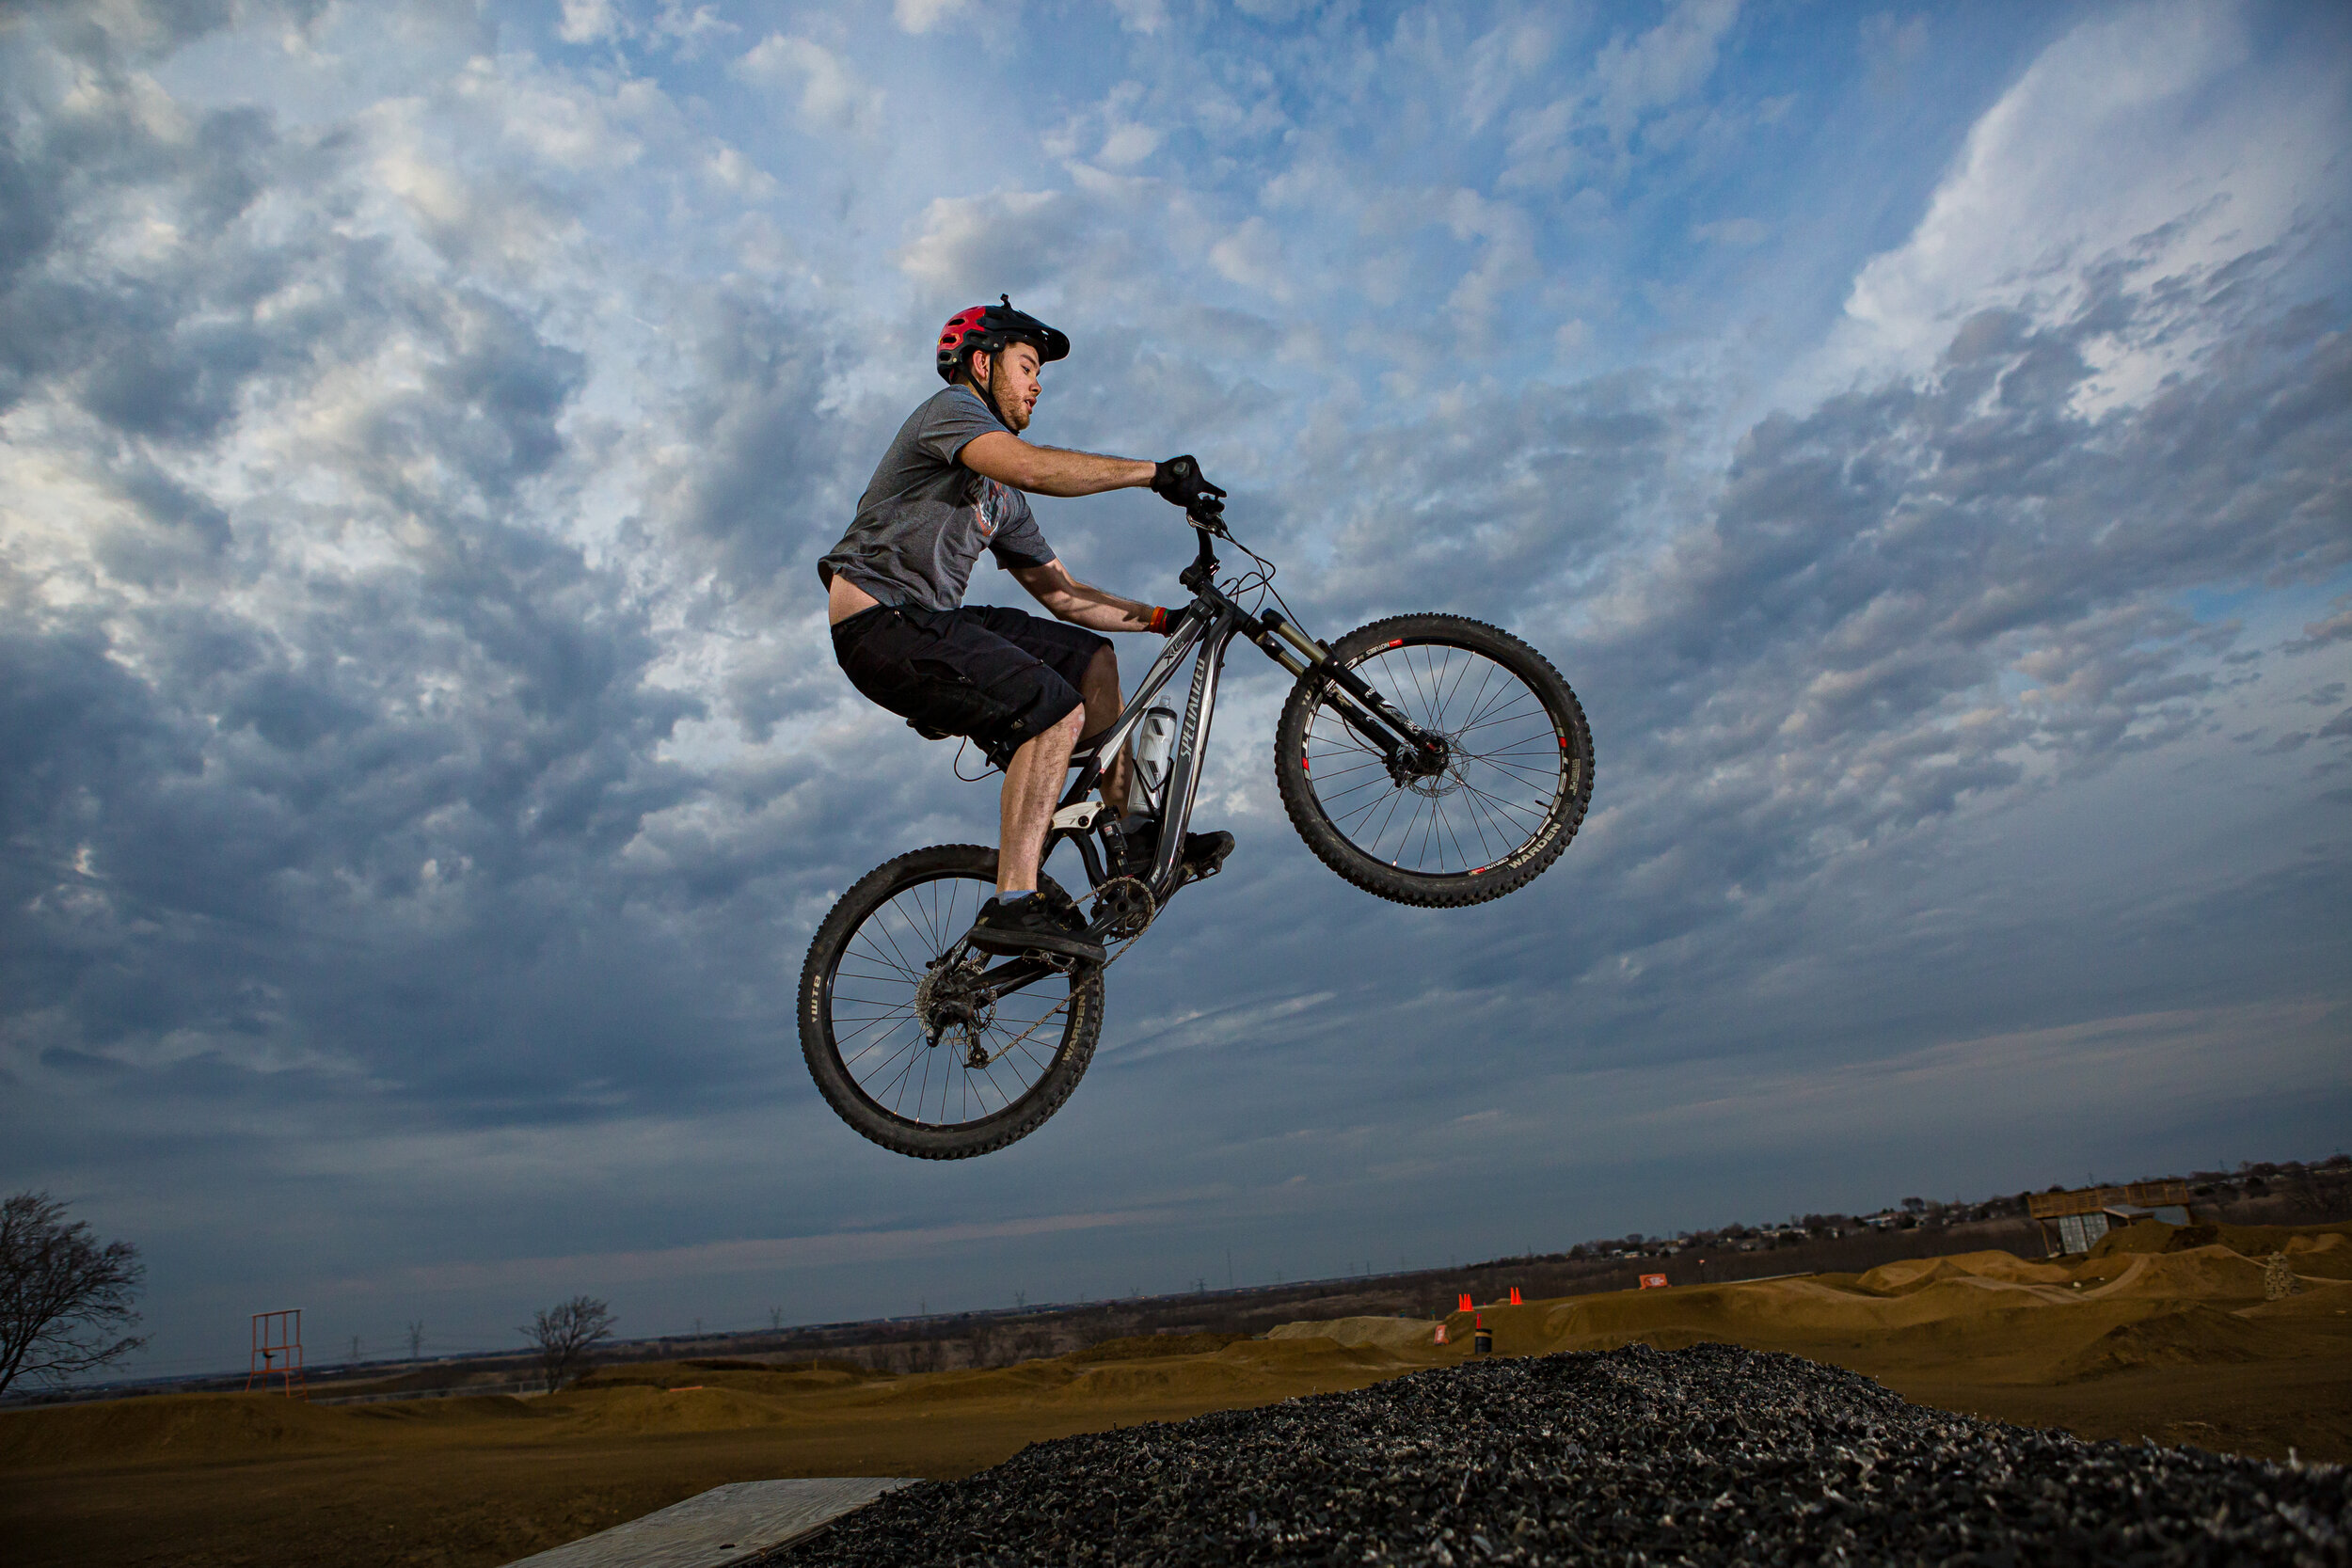
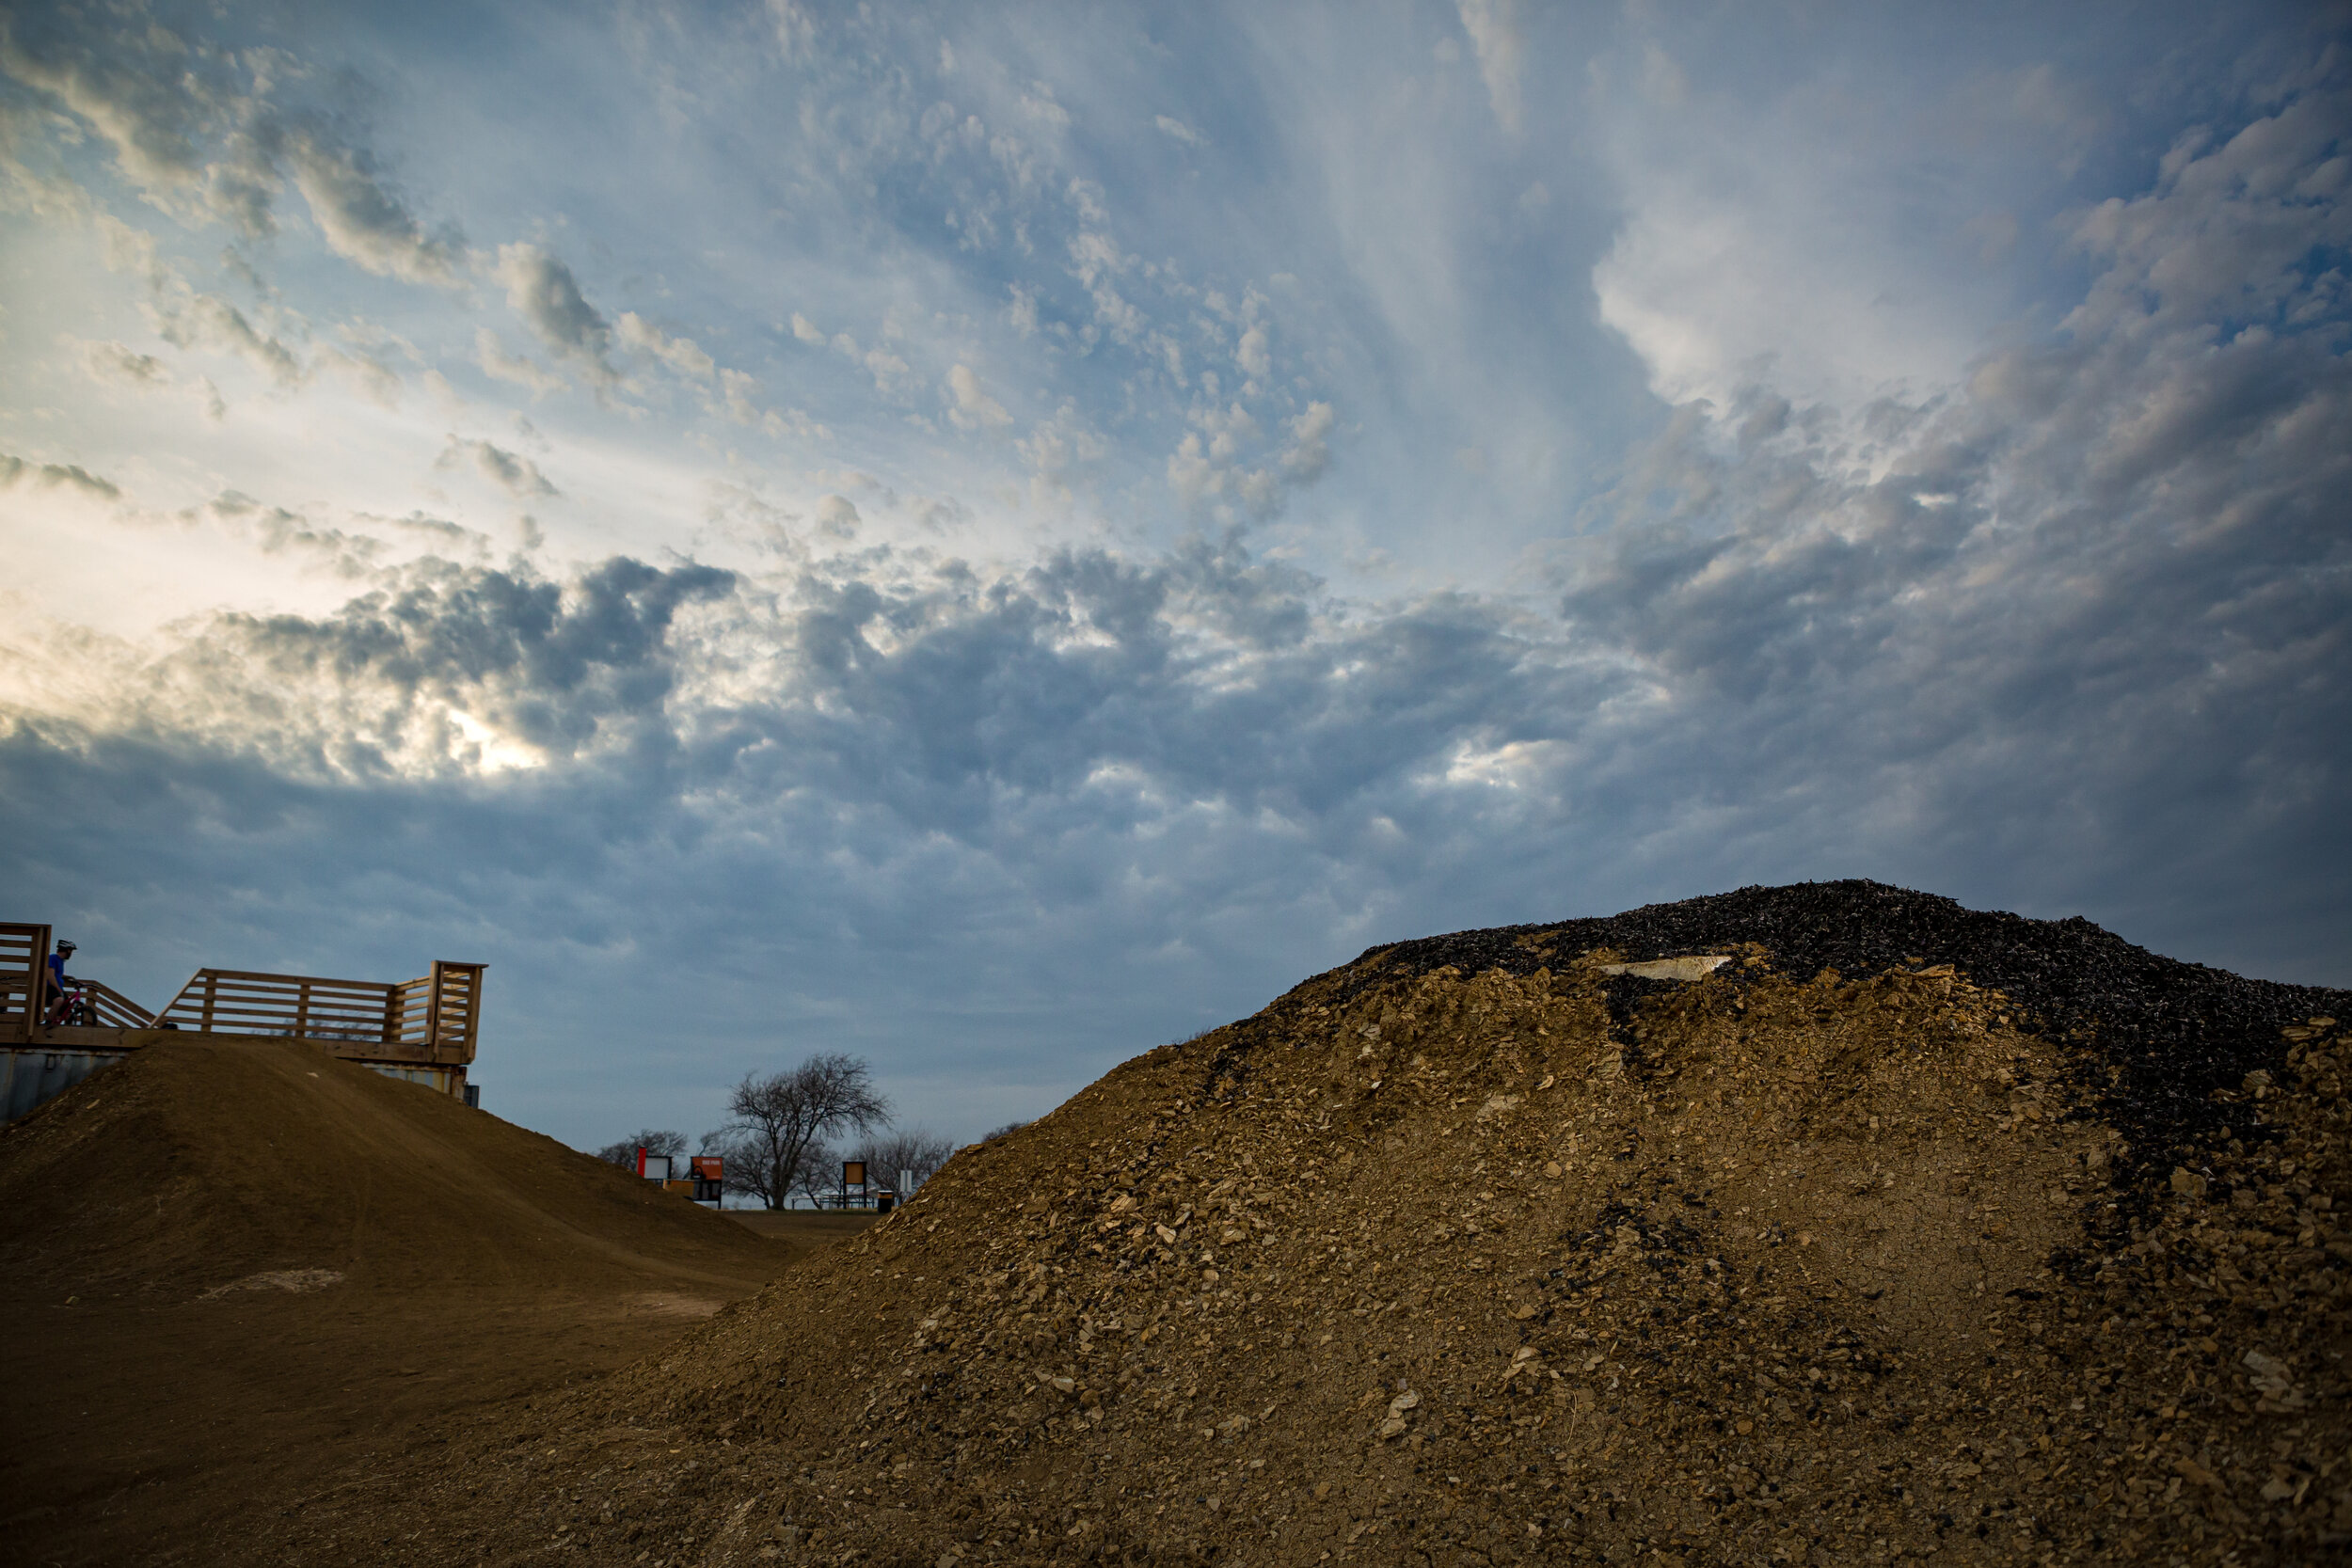
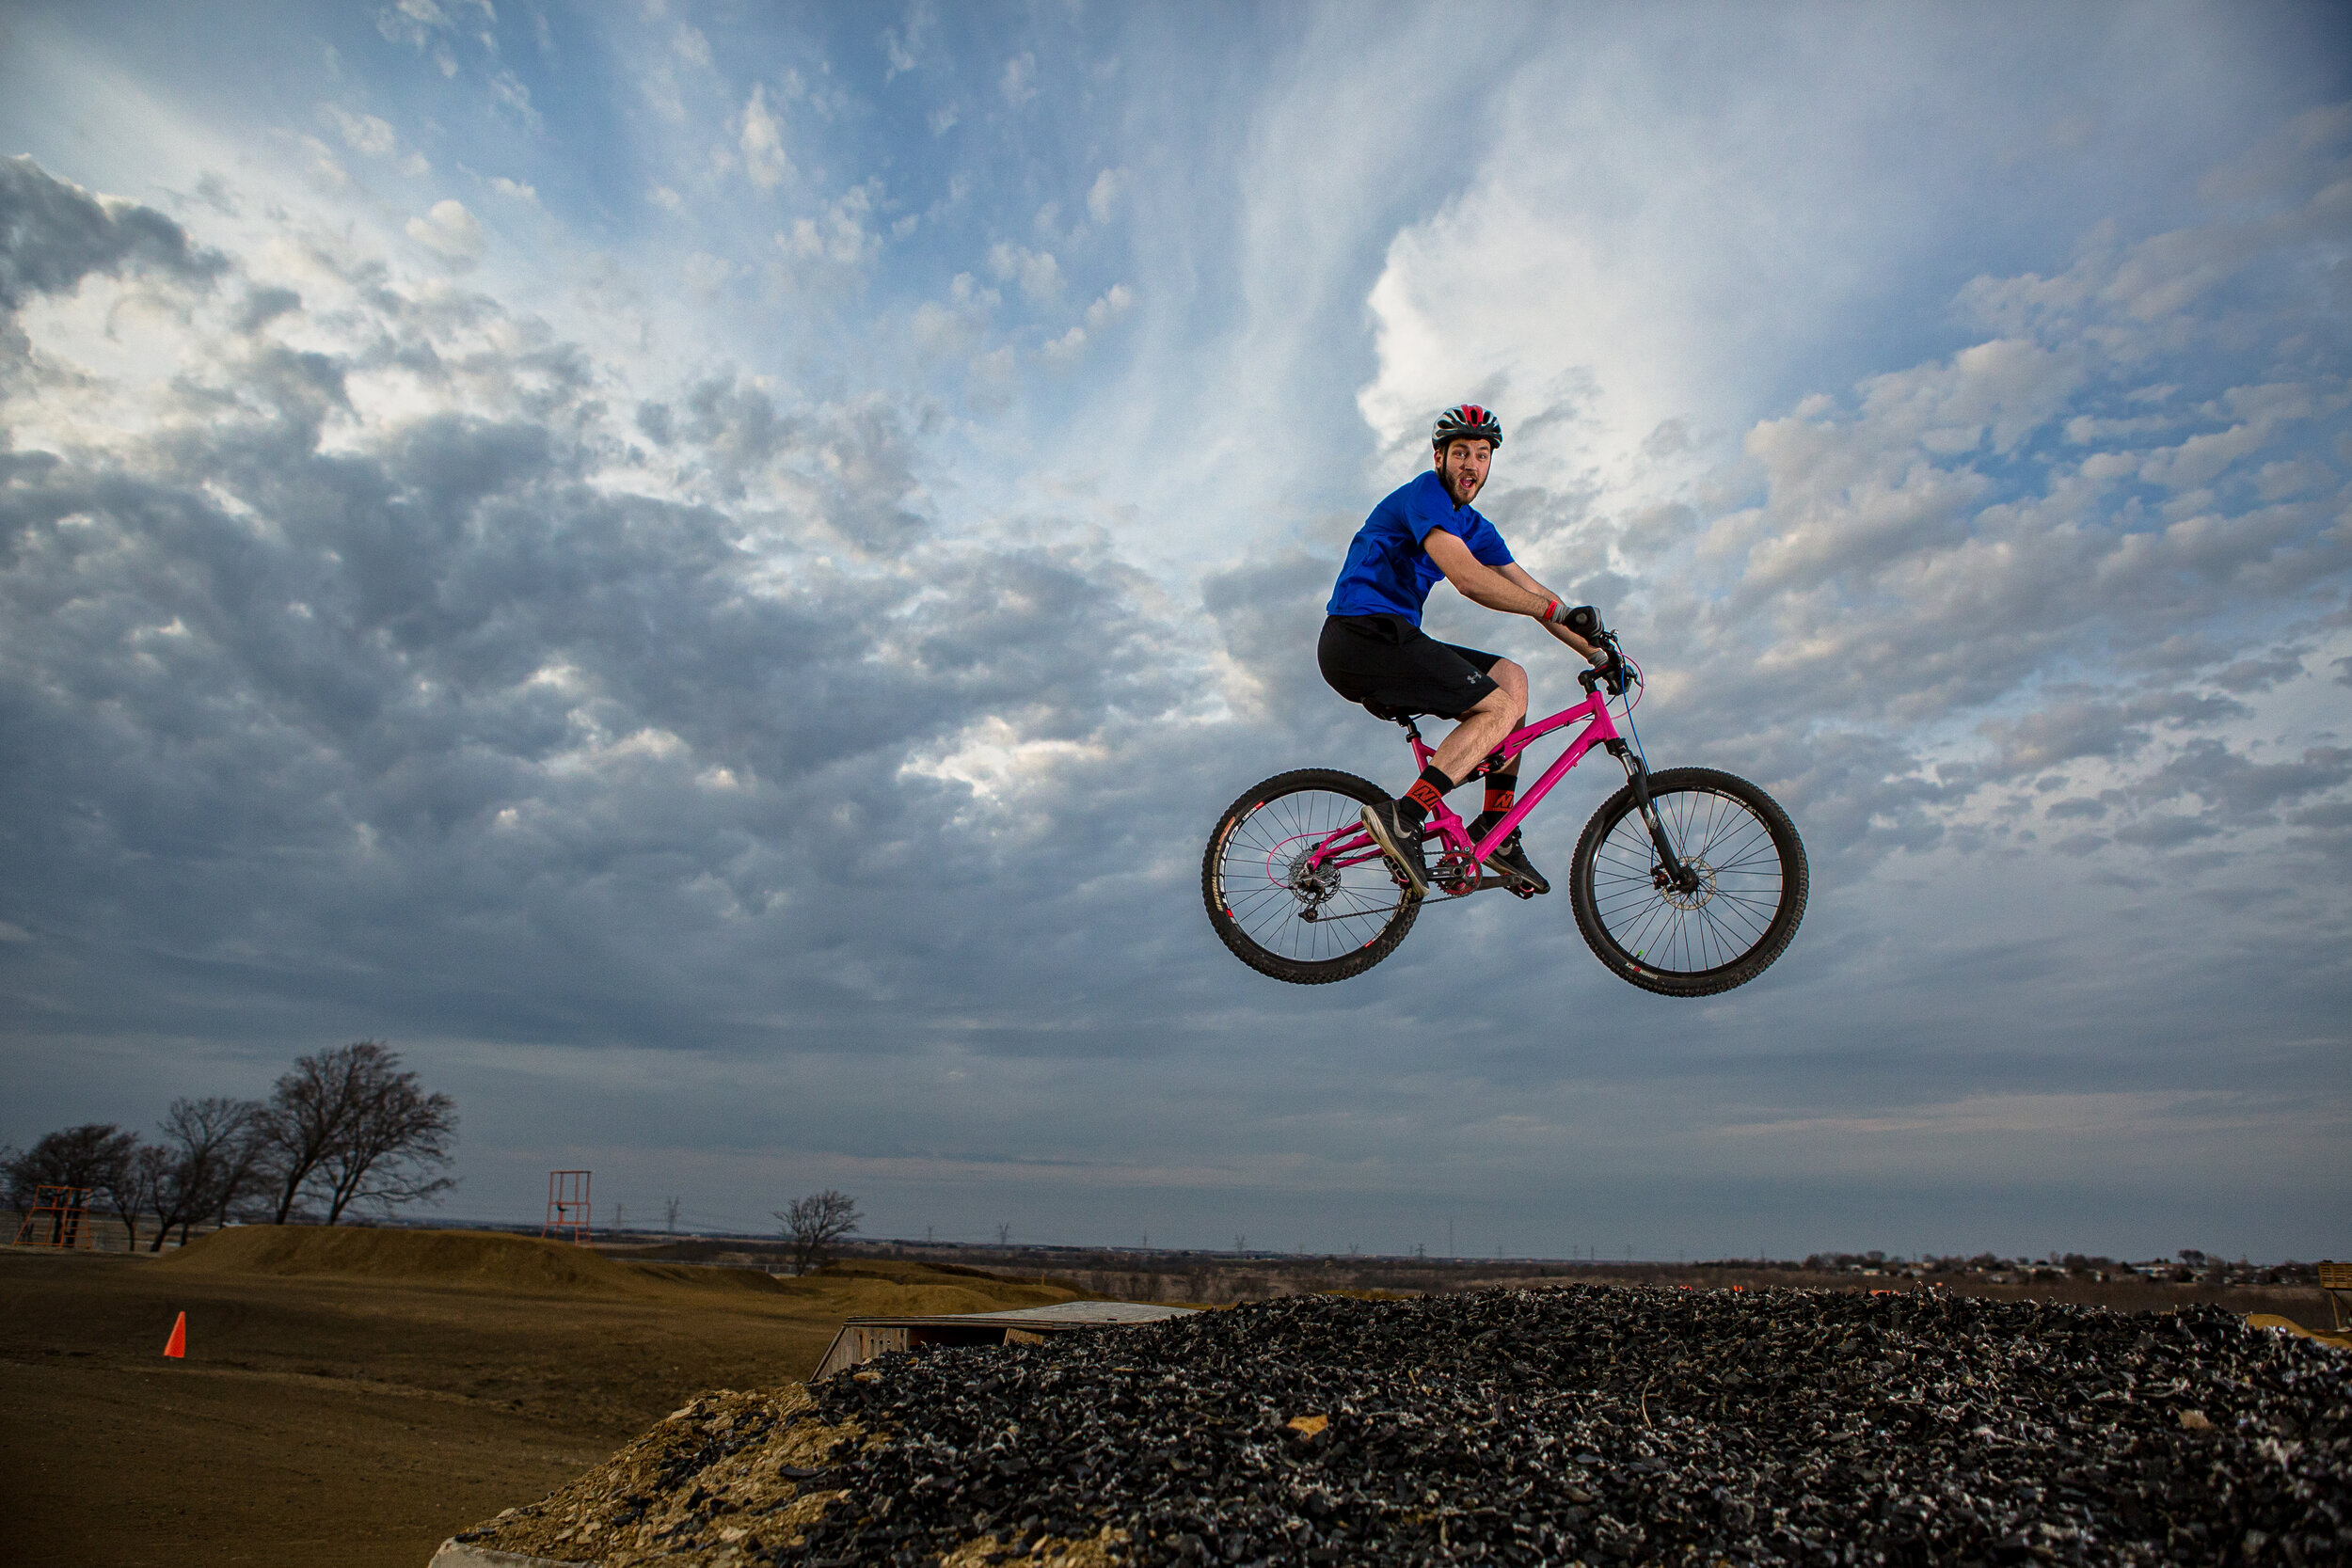
Today we went to TexPlex Park  and tried out some of their jumps for test shots. Here are some photos taken during the day to evening with camera and lighting specifications!
 

ELINCHROM ELB 400: 424J, Power set at 6.0 (highest setting)Camera: Canon 5D Mark IIICamera settings: ISO 640 24MM (24-70MM) F/4.0 1/4000 sec

ELINCHROM ELB 400: 424J, Power set at 6.0 (highest setting)

Camera: Canon 5D Mark III

Camera settings: ISO 640 24MM (24-70MM) F/4.0 1/4000 sec

ELINCHROM ELB 400: 424J, Power set at 6.0 (highest setting)Camera: Canon 5D Mark IIICamera settings: ISO 640 24MM (24-70MM) F/3.5 1/4000 sec

ELINCHROM ELB 400: 424J, Power set at 6.0 (highest setting)

Camera: Canon 5D Mark III

Camera settings: ISO 640 24MM (24-70MM) F/3.5 1/4000 sec

Initially I started out with lower settings in camera and then drastically bumped up my shutter extremely high to see how powerful not only my light could be but to obtain as much quality information in my foreground and back ground.

Some of my beginning photos were in difficult transition from deciding where to place my key light (ELB 400) in full sun and how to balance the light with the ambient light. The other challenge I faced was trying to make sure my subject was well lit under high speed/movement conditions and timing my shot just right (such as a mountain biker flying across my frame).

I had my talent/subject pose prior to some of my shots in order to make an educated guess on where they would ride across my frame. This was trial and error and numerous attempts.

During my shoot, since it was important for me to make sure I had as much information and detail in my shot, while shooting at f/3.5, I struggled with overall image exposure. However, I don’t mind shooting a little darker than I anticipate, especially since this is an outdoor environment with constant sunlight shifting. I’d rather preserve as much detail as possible than exposing too bright in my images and loosing skyline or highlight information.

Below are my examples of two test shots into the actual and edited shot of JT on his bike with some lighting adjustments.


As we started to lose sunlight, this made my key light source more prominent. This photo shoot took place back in mid-February. By the end of the evening, around 6:20pm, the ambient light, skyline, and natural colors of our environment were astonishingly beautiful. I couldn’t of asked for a more beautiful evening.

I bumped up my camera from ISO 400 to ISO 640, playing around between f/3.5-4 and shutter at 4000. I stayed within these setting for the rest of the evening and got some amazing shots.
Botched Surgery Nightmare

SIDE BY SIDE.jpg

It’s Halloween and today I’m sharing how to create lighting to a scary themed photoshoot with just a simple two light setup.

Before we get started, I wanted to give a special thanks to Dr. Hubbard and his staff members for being wonderful to work with and for their creative costume ideas. Their office theme for Halloween this year was botched plastic surgery.

When the ladies came to me with their costume ideas, they wanted to tie it into upcoming and informative events on botched plastic surgery. We settled on the photoshoot theme as “Botched Plastic Surgery Nightmare” where our botched patients turned vengeful on their plastic surgeon.

LIGHTING EQUIPMENT

Today we’re using Elinchrom’s BX 500 Ri. I purchased these a few years ago for my very first studio lights and they’ve been through a number of photoshoots and a lot of abuse. I’m a huge fan of Elinchrom because they have beautiful light output, their quality is wonderful, and they have some pretty amazing stuff for those of you who are beginners and for those who are experienced.

My top favorite thing about Elinchrom products are their light shapers. For the price, you can’t beat it. Today’s shoot I’m using their Rotalux 53’’ Octabox as our key light. This octabox will make anyone look fabulous if you’re going for any sort or traditional portrait with a nice, soft light that wraps around your subject in the most flattering way. I also use this light if I need to light more than one person in a group shoot for good coverage.

For the back light I used Elinchrom’s Softlite 17” Reflector (White)/ aka beauty dish with a white sleeve diffuser to add some softness. I initially wanted to find a surgery room light that was no longer in service, but trying to find one of those is a rare and would cost an arm and a leg. Since the beauty dish already had a similar look, I grabbed some card board, traced the beauty dish and cut everything out with an exacto knife.

beauty dish.jpg

If you’ve ever been in a surgery room before, often times some of the old lights have a very yellowish warm tint to them. I added on a warm gel filter filter on the inside of my light stencil to the beauty dish.

LIGHTING POSITION AND COLOR TEMPERATURE

Here’s a basic behind the scene look with our red wheel chair prop in place where our doctor will be sitting.

Here’s a basic behind the scene look with our red wheel chair prop in place where our doctor will be sitting.

To start things off, we want to light our subjects with our key light (this is our main source of light that is highlighting the form and dimension of the subject). Our key light for this shoot is the large octabox, which is positioned camera right while our beauty dish that’s acting as both hair light and surgery light is positioned camera left, behind our subjects. We use a back light because we want to separate our subjects from the background, especially since we are using a black background. I chose not to place a 3rd point of lighting (which is our fill light- this adds further dimension to your photos) because I wanted the image to be somewhat dramatic. However I noticed I was able to get a hint of bounced lighting (unintentionally), camera left, from the wall of the room that gave a slight fill to certain areas of the image.

TUTORIAL Halloween.18.jpg

I brought the in camera color temperature/balance down to 4100 to make the image feel cooler against the beauty dish with the warm gel filter. I shot with a Cannon 5D Mark III with the 24-70mm lens. My camera settings were at f/5.0, 1/125 sec, ISO100. Our back light was placed on the lowest setting of 2.3 and our key light was just a hair lighter at 2.4.

EDITING AND BEHIND THE SCENE

Here are some unedited and silly shots from the photoshoot with our amazing models just having fun!

Below is a side by side of the edited and unedited version of the chosen image. For the full body-group shot, I had to go into Photoshop and remove the unwanted items in the image and extend the background further to give the appearance of a dark-gloomy setting.

Next, I wanted to go for a dark, grey-ish blue background (I initially wanted this color of background to begin with but we were unable to transport it to the location at the time). In Photoshop, I created a color balance layer to further cool down the background into a blue tone and added a vector mask to place the changes only to the areas of the image where I wanted them. I did the same thing again but this time I made a levels layer and brightened up selected areas of the background.

before after edits.jpg

I brought my photo into Color Efex pro Plugin and added some punch into my photo to help bring it to life. I later added a little extra clarity back in Lightroom and I also went back in and Photoshop a scalpel blade into one of our talents hands. At the time we had a cover over the scalpel for obvious protective reasons. There you have it!

Again, special thanks to Dr. Hubbard and his talented staff for helping put this photoshoot together and their amazing makeup job abilities! Another special thanks to Dallas Plastic Surgery Institute for allowing us to use their in house studio space! Last but not least, special thanks to my coworker Kim for helping out with the test shooting!

If anyone is interested in checking out what Dr. Hubbard does and his talents, I’ve provided links to his website and instagram page! I’ve also provided a link to Dallas Plastic Surgery Institute where you can discover other amazing doctors and their talented abilities!

https://bradleyhubbardmd.com/ https://www.instagram.com/bradleyhubbardmd/

https://dpsi.org/